

How To Create A Model From Scratch: 3D Printing Guide
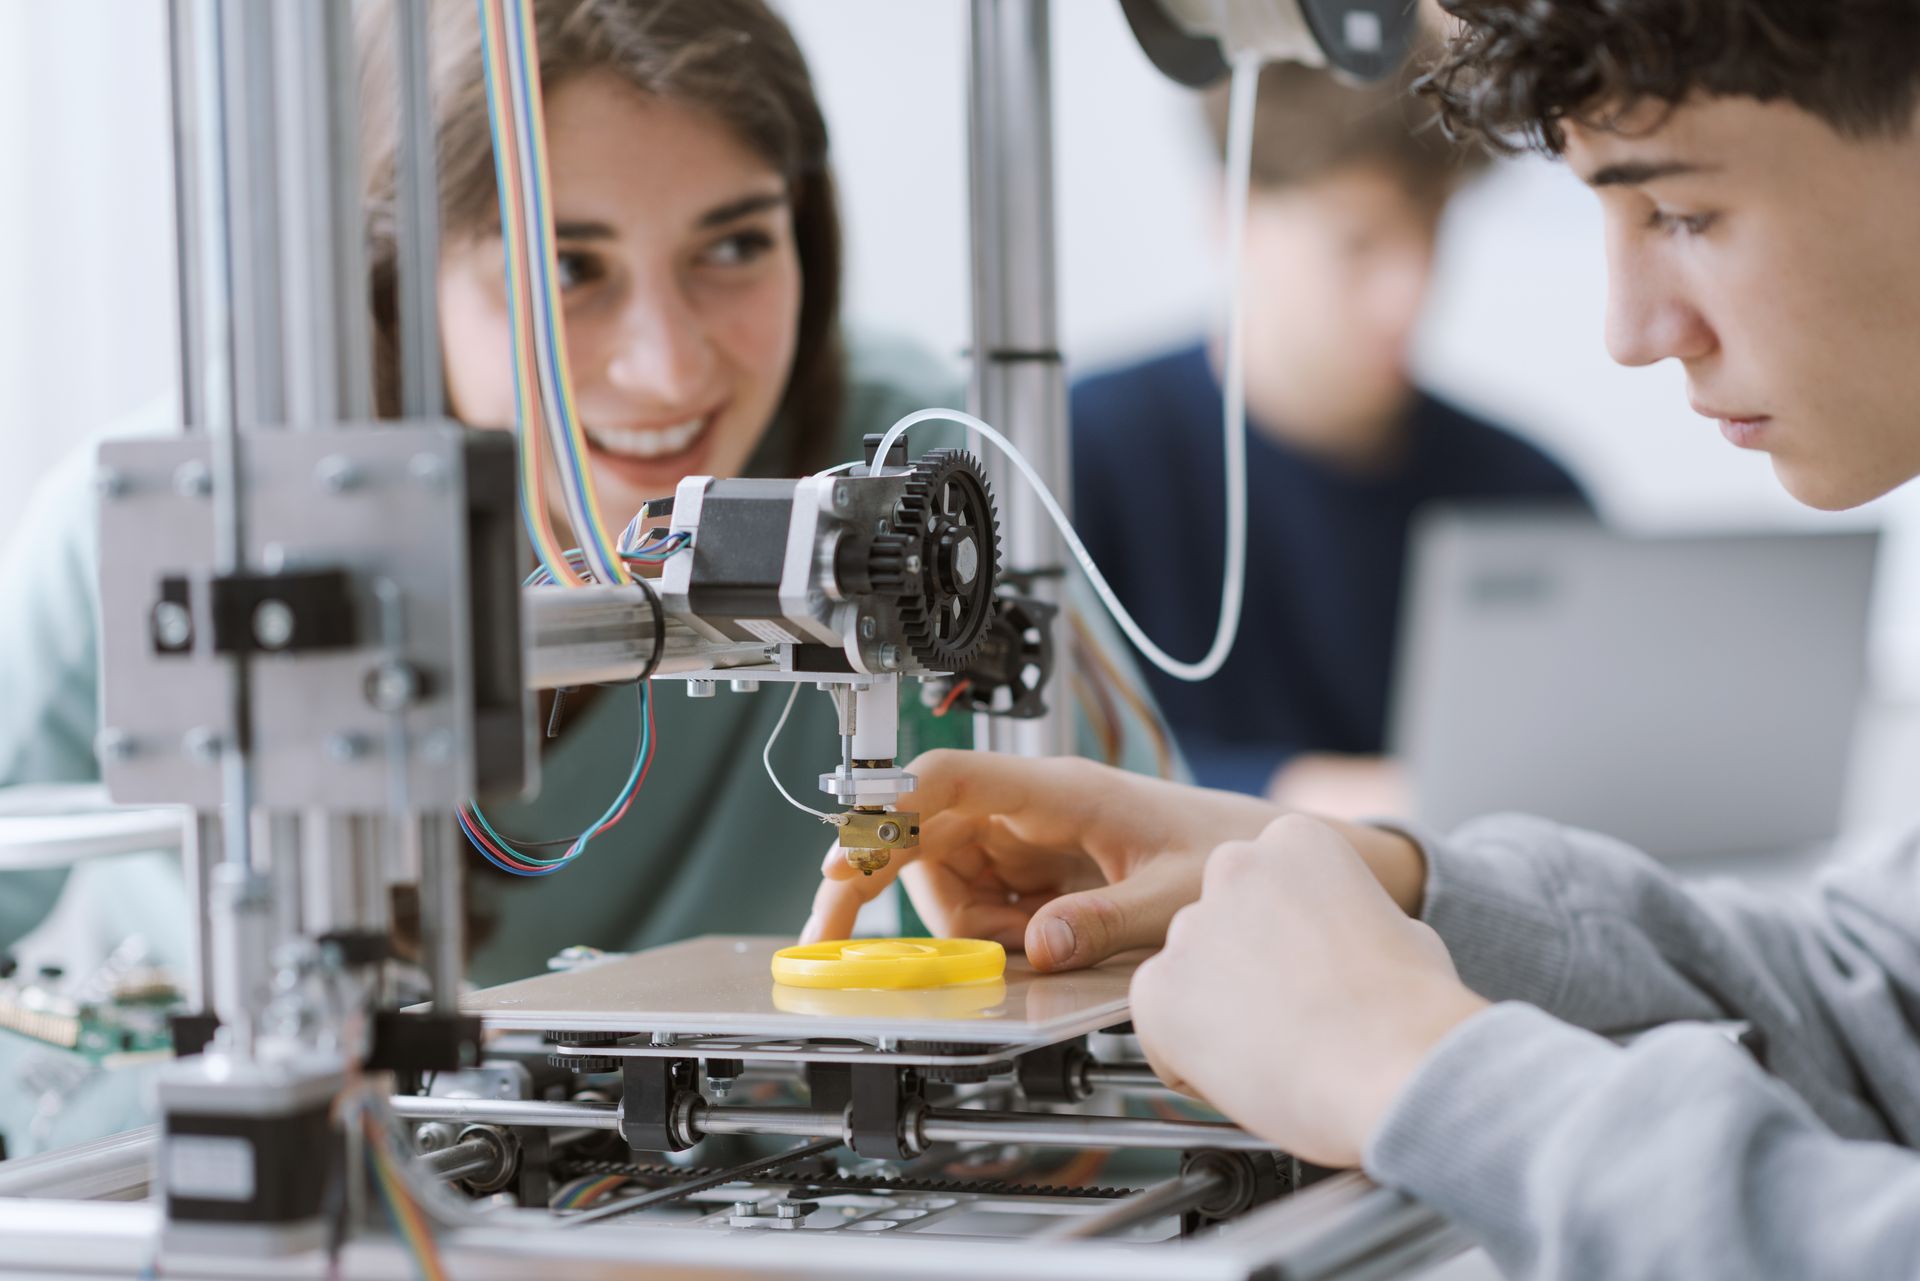
The world of 3D printing has unlocked endless possibilities for businesses, hobbyists, and innovators. If you're in Phoenix and looking to dive into 3D printing, By3Design offers expert services to turn your creative ideas into tangible objects. But before you get started with 3D printing, the first and most important step is creating a 3D model from scratch. In this guide, we’ll walk you through the basics of 3D modeling and how to prepare your design for printing.
Why 3D Printing Matters
Phoenix is rapidly becoming a hub for technology and innovation, with 3D printing playing a pivotal role in this movement. Industries such as manufacturing, healthcare, automotive, and aerospace all benefit from 3D printing technologies, using it to prototype products, create custom tools, and even build functional parts. By3Design has positioned itself at the forefront of this technological wave, helping clients in Phoenix realize their 3D printing ambitions by transforming their ideas into precise models.
What You Need To Know Before Starting Your 3D Model
Before you jump into creating a 3D model, it’s important to understand the basics. You’ll need the right tools, software, and knowledge to ensure your design is 3D printer-ready. Whether you're an artist looking to create intricate sculptures or an engineer building functional parts, the 3D modeling process involves a series of steps that will bring your concept to life. See more on Professional 3D Printing Services: A Comprehensive Guide.
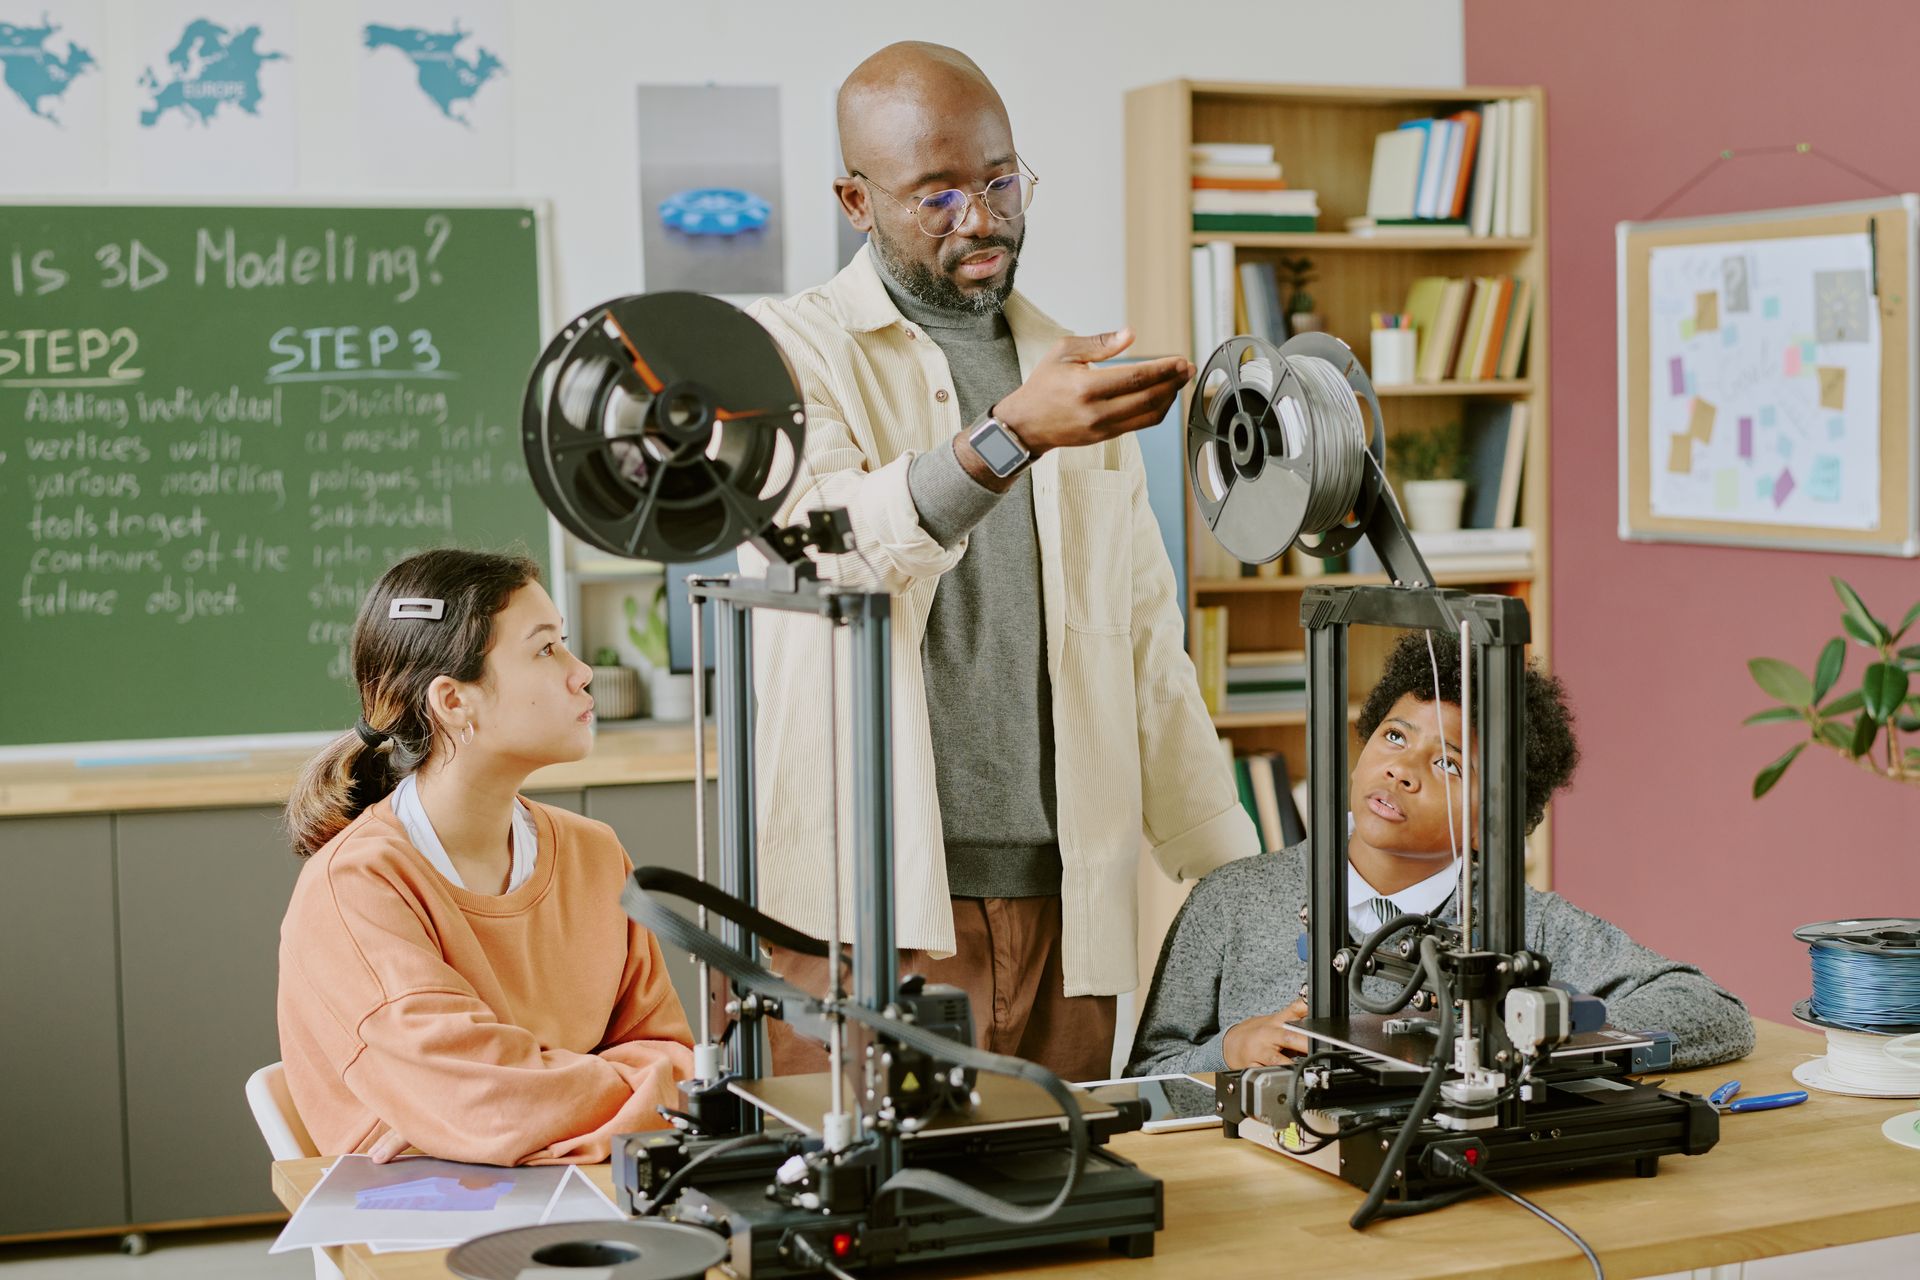
Understanding The Basics
- 3D Model: A digital representation of an object that includes its shape, dimensions, and sometimes its texture. It serves as the blueprint for the 3D printer.
- Software: There are many programs available to create 3D models, such as Tinkercad, Blender, Fusion 360, and SolidWorks. Choose one that fits your skill level and the complexity of your project.
- File Formats: The most common file type for 3D printing is STL (stereolithography), but others like OBJ and 3MF are also used. These file types store the surface geometry of a 3D object and can be read by 3D printers.
Now, let’s dive into how you can create your own 3D model from scratch.
Step 1: Conceptualizing Your Design
Before you open any software, start by conceptualizing your idea. Whether you're designing a custom phone case, a mechanical part, or a piece of art, the first step is to sketch out what you want to create. By having a clear vision, you’ll make the modeling process smoother.
Here are a few questions to guide your concept:
- What is the function of the object? Will it be purely decorative, or will it need to serve a specific purpose?
- What size should it be? 3D printers have size limitations, so it’s important to know the maximum build size.
- What material do you want to use? By3Design offers a variety of 3D printing materials, including plastic, resin, and metal, which might affect how you approach your design.
Once you have a clear idea, you can move on to the next step.
Step 2: Choosing The Right 3D Modeling Software
There’s a wide range of 3D modeling software available, each catering to different levels of expertise and project requirements. Below are some of the best options based on your experience level:
- Beginner-Friendly Options
- Tinkercad: A free, browser-based tool that’s great for beginners. It uses simple geometric shapes to create models and is perfect for basic designs.
- SketchUp: Another easy-to-learn software that’s widely used for architectural modeling but also works well for 3D printing.
- Intermediate To Advanced Options
- Blender: A free, open-source software that is popular in the 3D art and animation community. It’s versatile and can handle complex modeling, but it has a steeper learning curve.
- Fusion 360: An industry-standard tool for engineers and designers. It offers advanced features for precision modeling and mechanical parts.
- SolidWorks: A professional-grade software used primarily in engineering and manufacturing. It’s powerful, but comes with a price tag.
Choose the software that aligns with your skill level and project complexity. Once you’ve selected your tool, it’s time to start building your model.
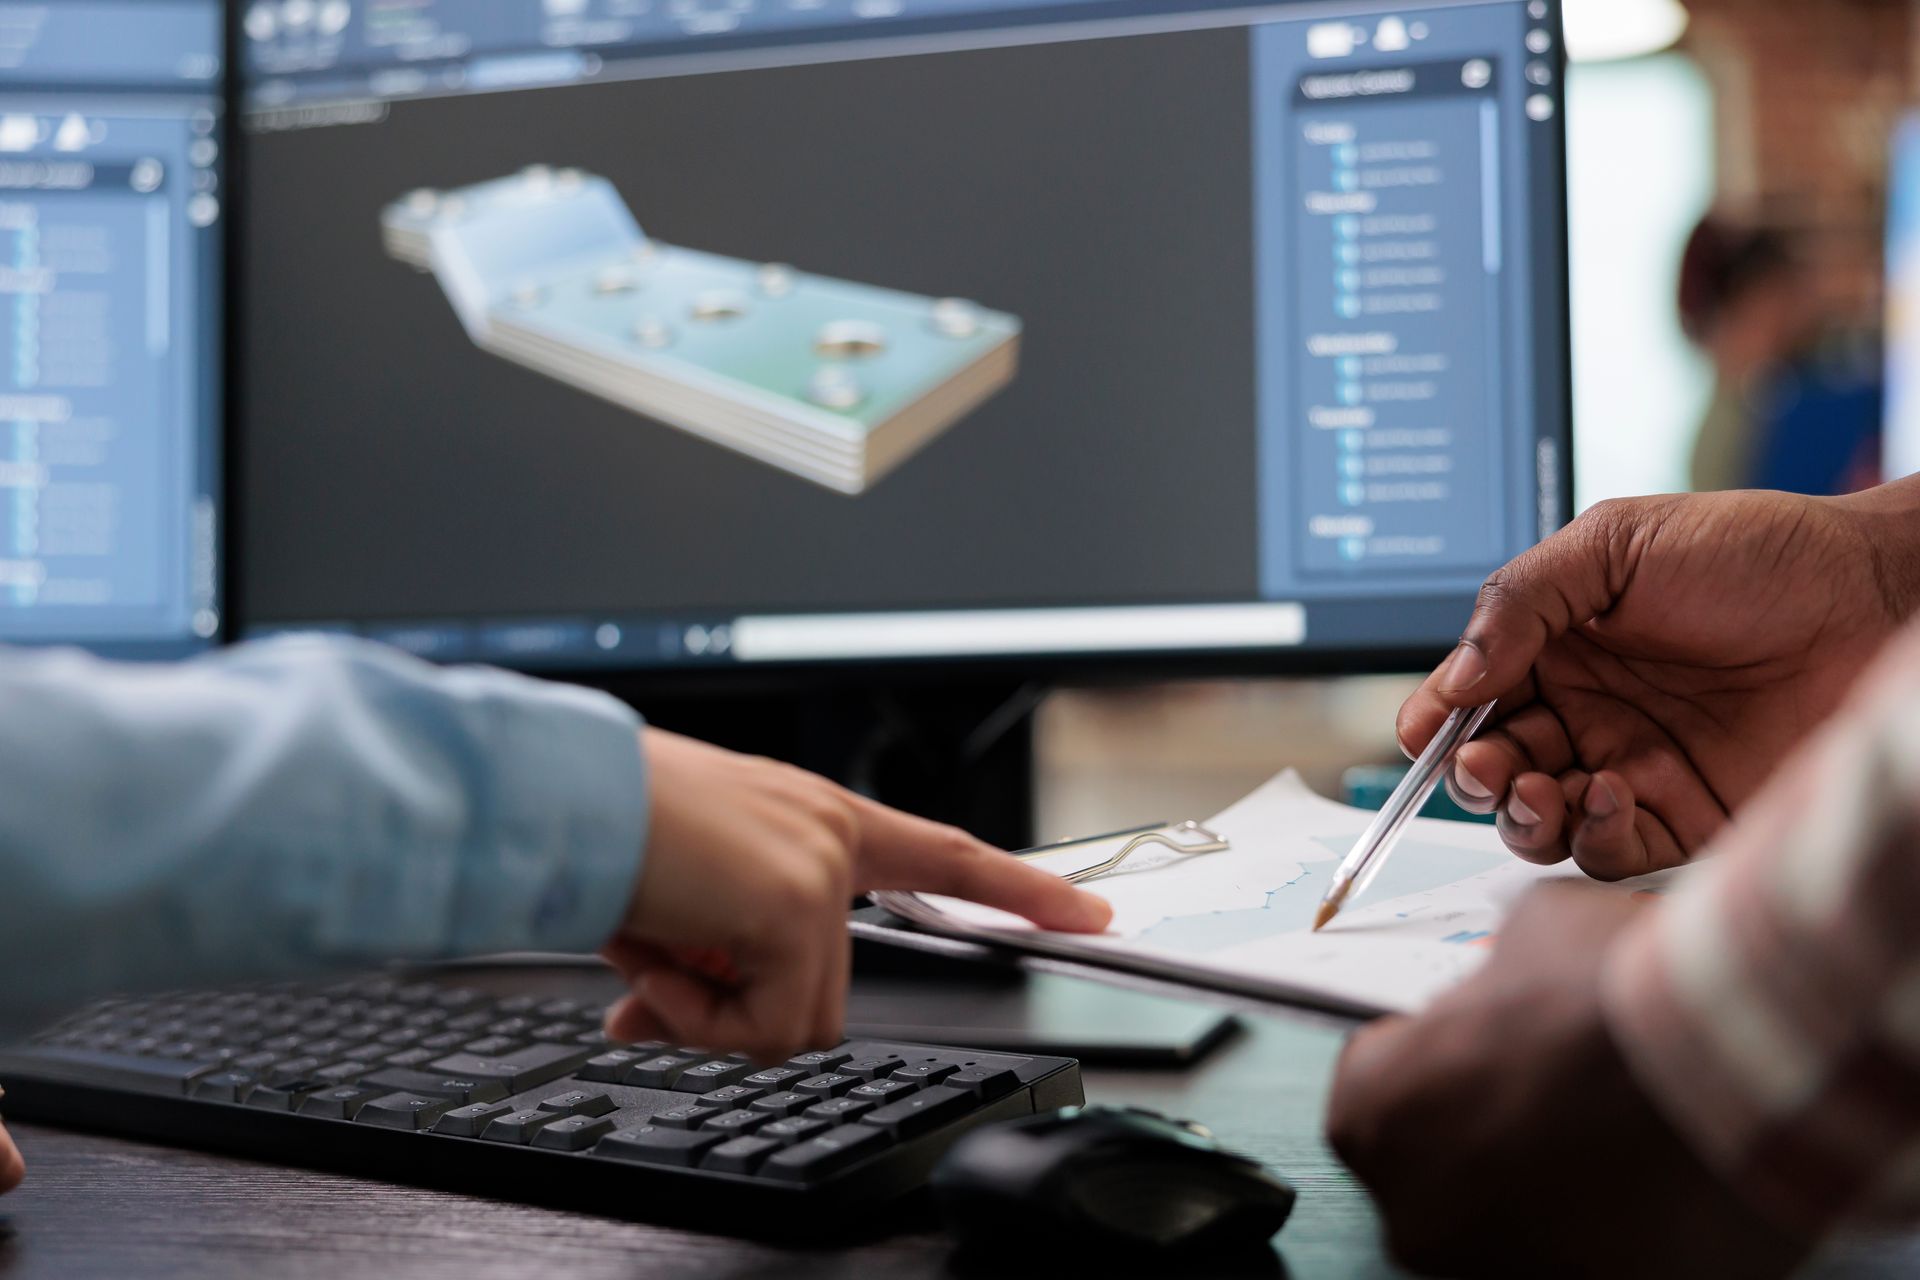
Step 3: Creating The Basic Geometry
In any 3D modeling software, you’ll begin by creating the basic geometry of your object. This process will vary slightly depending on the software you choose, but the general steps are similar.
Start With Primitive Shapes
- Most 3D models begin with primitive shapes like cubes, spheres, and cylinders.
- These shapes can be scaled, stretched, rotated, and combined to form more complex objects.
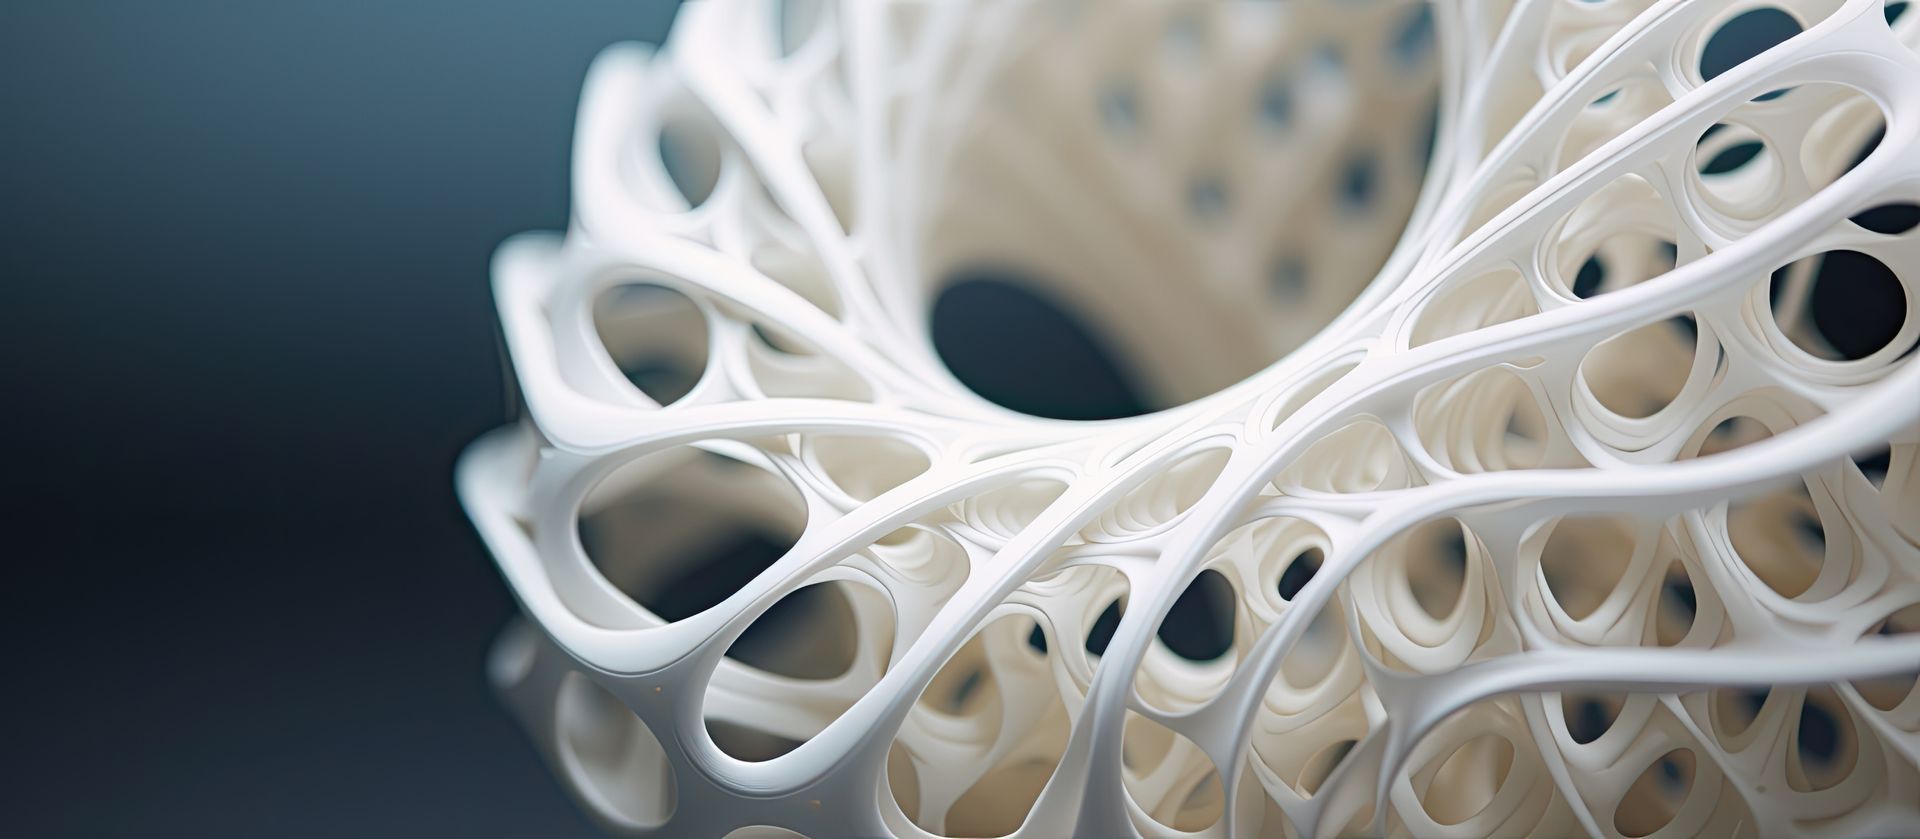
For example, if you’re designing a simple product like a vase, you could start with a cylinder. You would then shape it by adjusting its height and diameter, and add details by combining other shapes like smaller cylinders or curves for the top opening.
Use The Extrude Tool
- The extrude tool is a key feature in many modeling programs. It allows you to pull a flat shape (like a square or circle) into a 3D form.
- For instance, if you draw a 2D square on your workspace, you can use the extrude tool to pull it upward, turning it into a 3D cube.
Precision With Grids And Measurements
- Most 3D modeling software allows you to set a grid for precise measurements. This is especially useful for objects that require exact dimensions, such as engineering parts.
- You can snap shapes to the grid and input specific measurements to ensure accuracy.
By combining and manipulating these basic shapes and tools, you’ll be able to create more detailed and functional models.
Step 4: Refining The Design
Once the basic geometry is complete, it’s time to refine your design. This is where you add details, adjust proportions, and ensure that the model is optimized for 3D printing.
Smoothing And Subdividing
- Some 3D models require smooth surfaces, especially if you’re designing something organic like a sculpture or figurine.
- Use subdivision or smoothing tools to break down complex shapes into smaller polygons, which can create rounded, natural-looking surfaces.
Adding Features
- Use features like cutting, filleting, and chamfering to create edges, holes, or rounded corners in your design.
- For example, if you’re designing a mechanical part, you may need to cut holes or grooves into the model for screws or fasteners.
Thickening Surfaces
- For models that will be printed with hollow sections, such as containers or casings, ensure the walls have the correct thickness. Too thin, and they might break during printing. Too thick, and they may waste material.
- Most 3D printers and materials have specific wall thickness recommendations that should be followed to prevent structural issues.
Step 5: Preparing The Model For 3D Printing
Once you’re satisfied with your model, it’s time to prepare it for printing. This involves exporting the model in the correct format, checking for errors, and setting the right parameters for 3D printing.
Exporting In STL Format
- Most 3D modeling software will allow you to export your design as an STL file, which is the most widely used file format for 3D printing.
- Double-check that the model’s scale is correct before exporting.
Checking For Mesh Errors
- 3D printers can struggle with models that have holes, intersecting faces, or other mesh issues.
- Many software programs offer tools to automatically detect and fix these errors. You can also use third-party tools like Meshmixer to repair your model.
Setting The Print Parameters
- Before printing, you’ll need to slice the model using software like Cura or PrusaSlicer. This software translates your 3D model into specific instructions for the 3D printer, such as layer height, infill percentage, and print speed.
Step 6: 3D Printing With By3Design In Phoenix
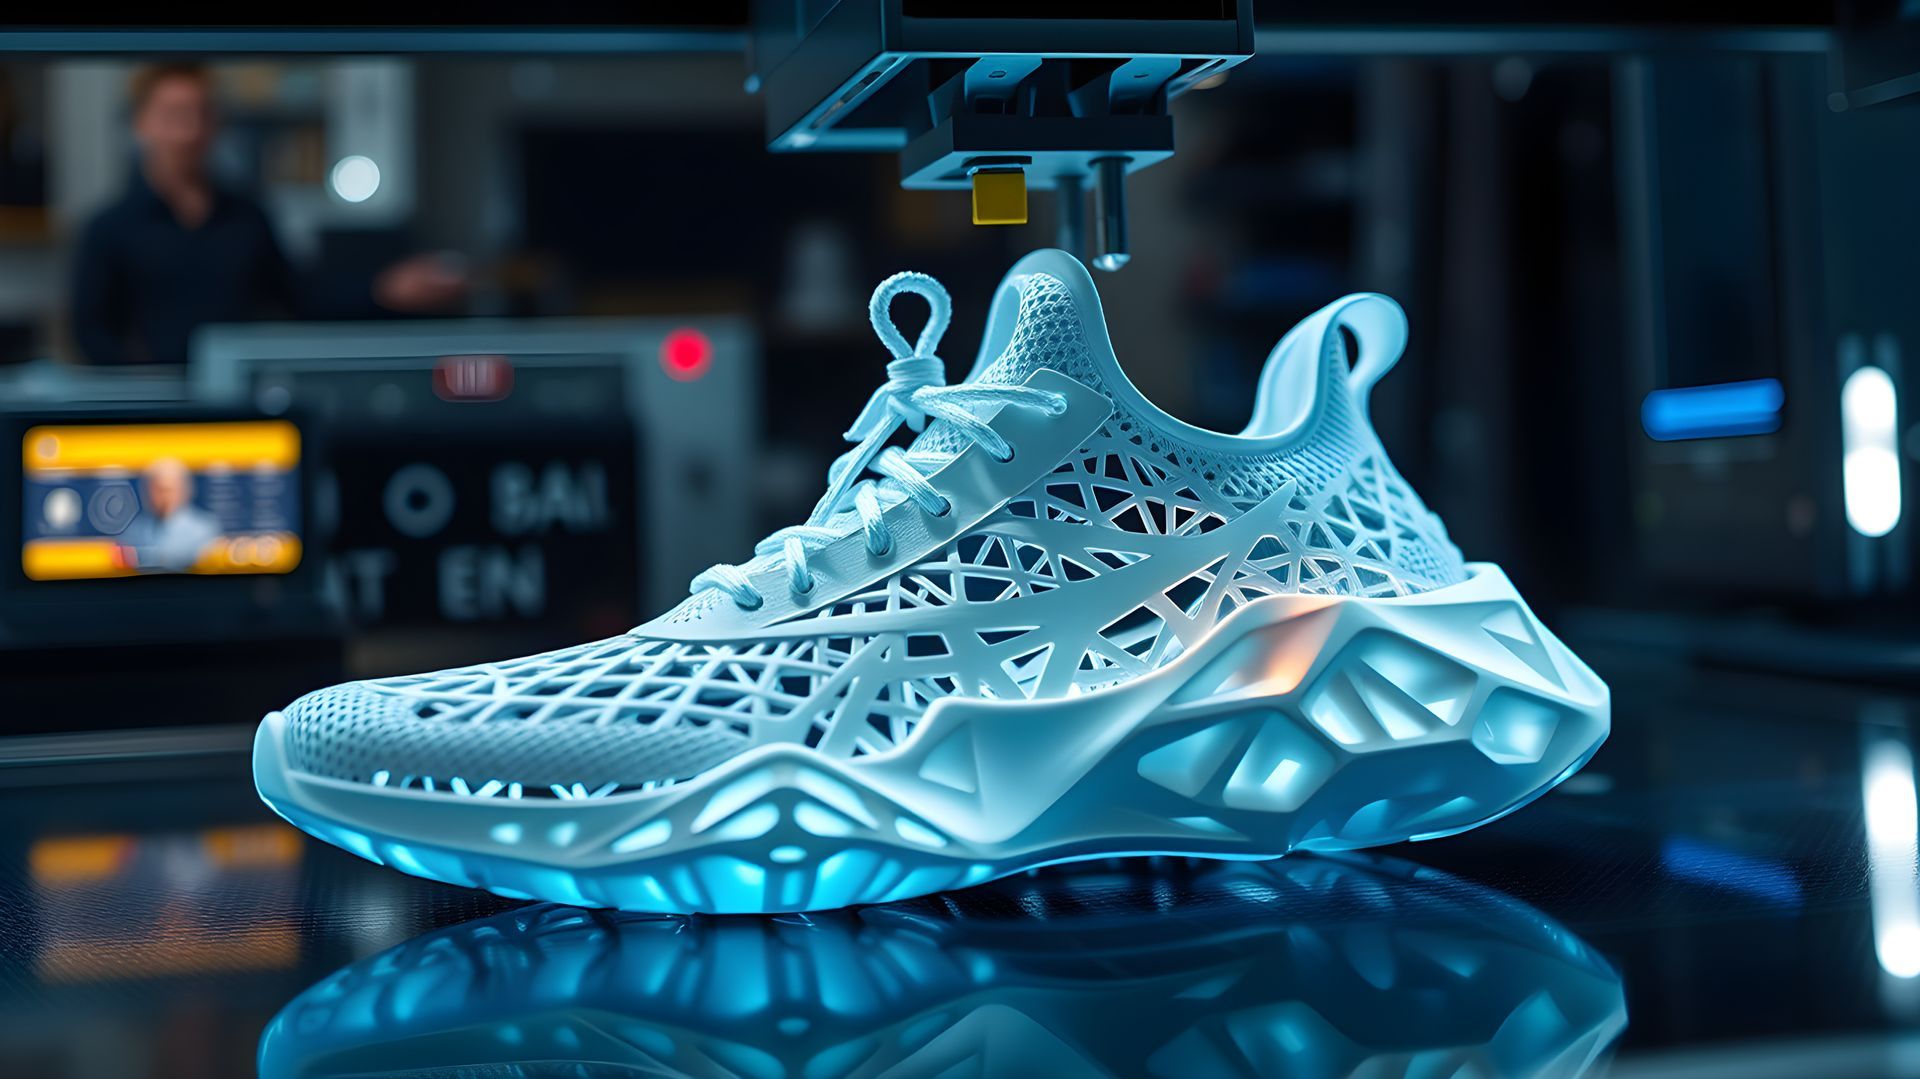
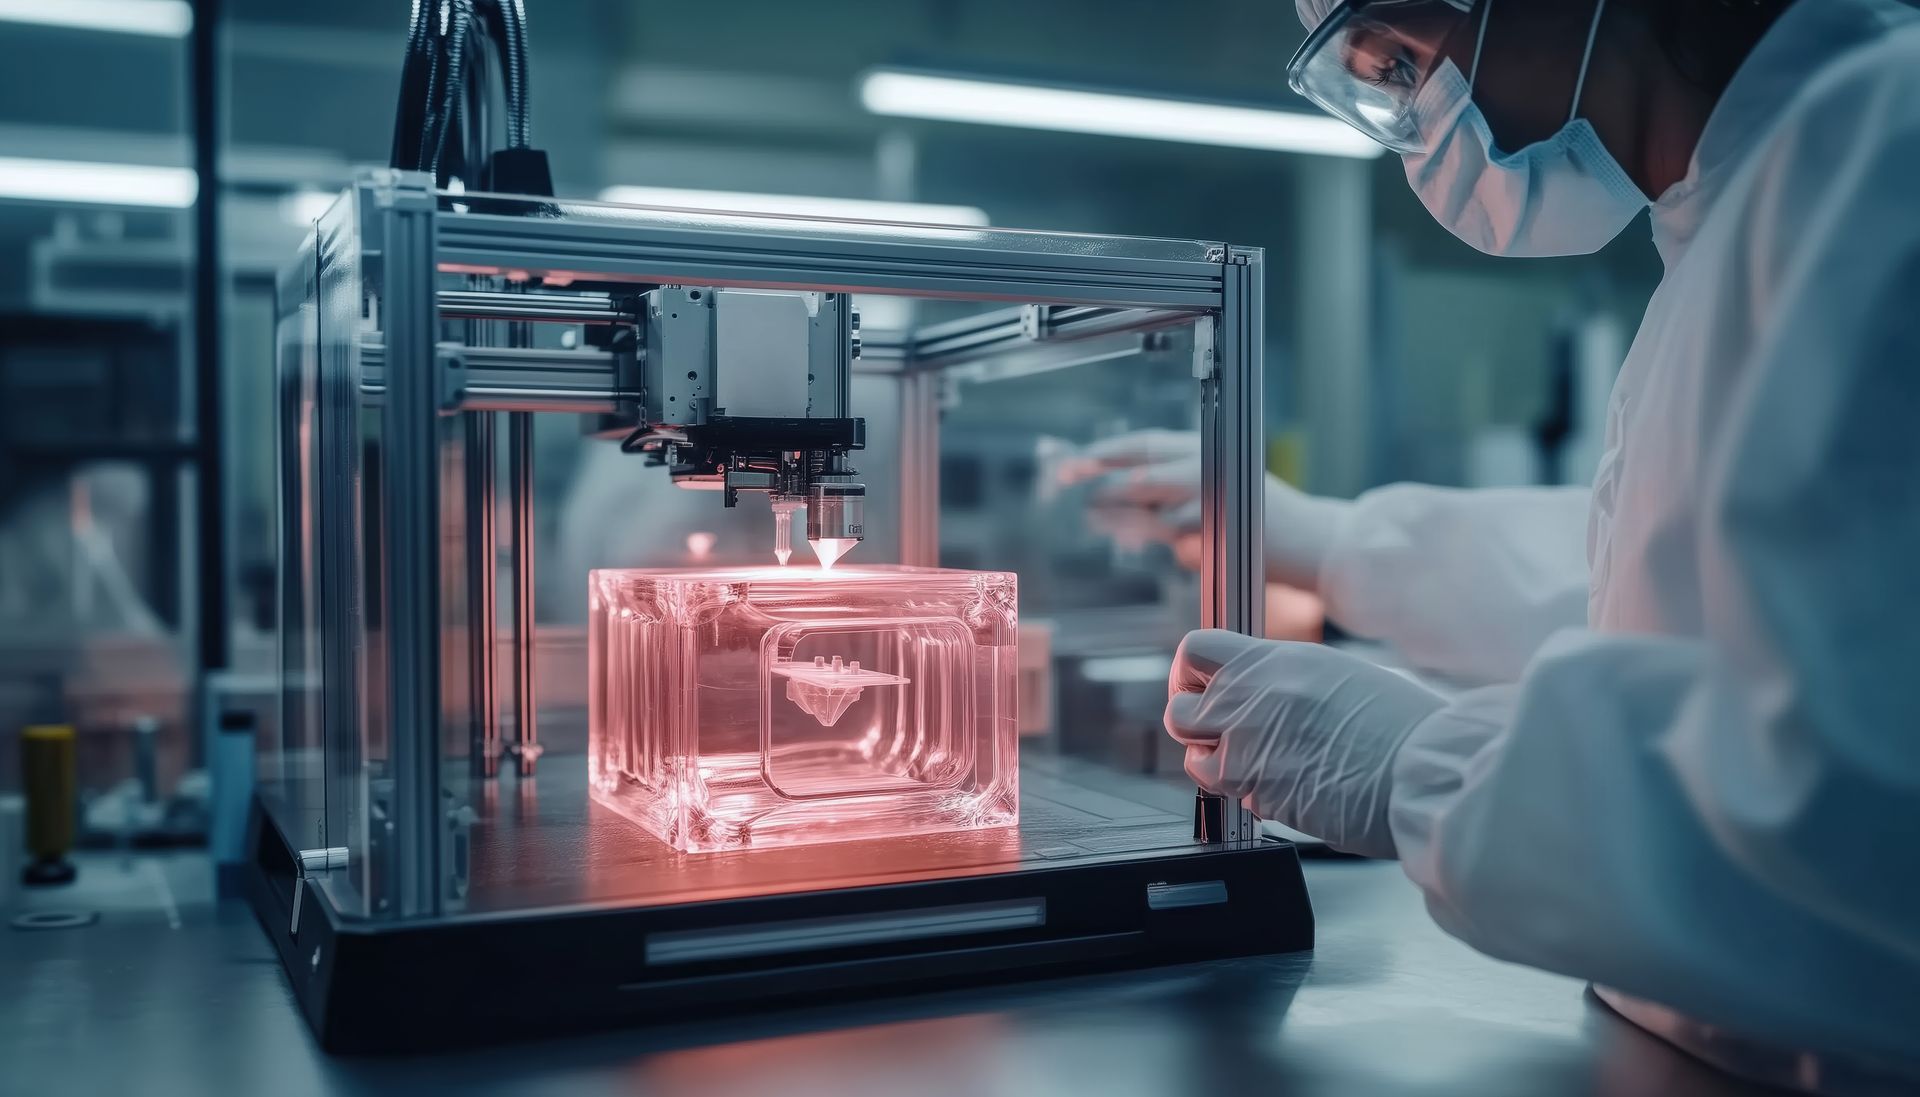
Once your model is ready, By3Design can help bring your creation to life. As Phoenix’s leading 3D printing service provider, By3Design offers a variety of printing technologies, including FDM (Fused Deposition Modeling) and SLA (Stereolithography), as well as a range of materials suitable for everything from prototyping to end-use products.
Whether you need help with complex models or want expert advice on how to optimize your design for printing, By3Design is here to assist. They offer end-to-end services that ensure your 3D model is printed with precision and high-quality materials.
Conclusion
Creating a 3D model from scratch may seem daunting, but with the right tools and guidance, it’s an incredibly rewarding process. By following these steps and leveraging the expertise of By3Design, you can transform your ideas into tangible objects. Phoenix 3D printing has never been more accessible, and By3Design is here to make your creative visions a reality. Whether you’re a business looking for rapid prototyping or a hobbyist exploring new ideas, 3D modeling and printing will open up a world of possibilities.
So, get started on your next 3D project today and
call By3Design to help you bring it to life!


Navigation Links:
Contact Us:
Follow Us!
Powered by Rae of Light SEO