

How To Calibrate Your Printer: 3D Printing Advice
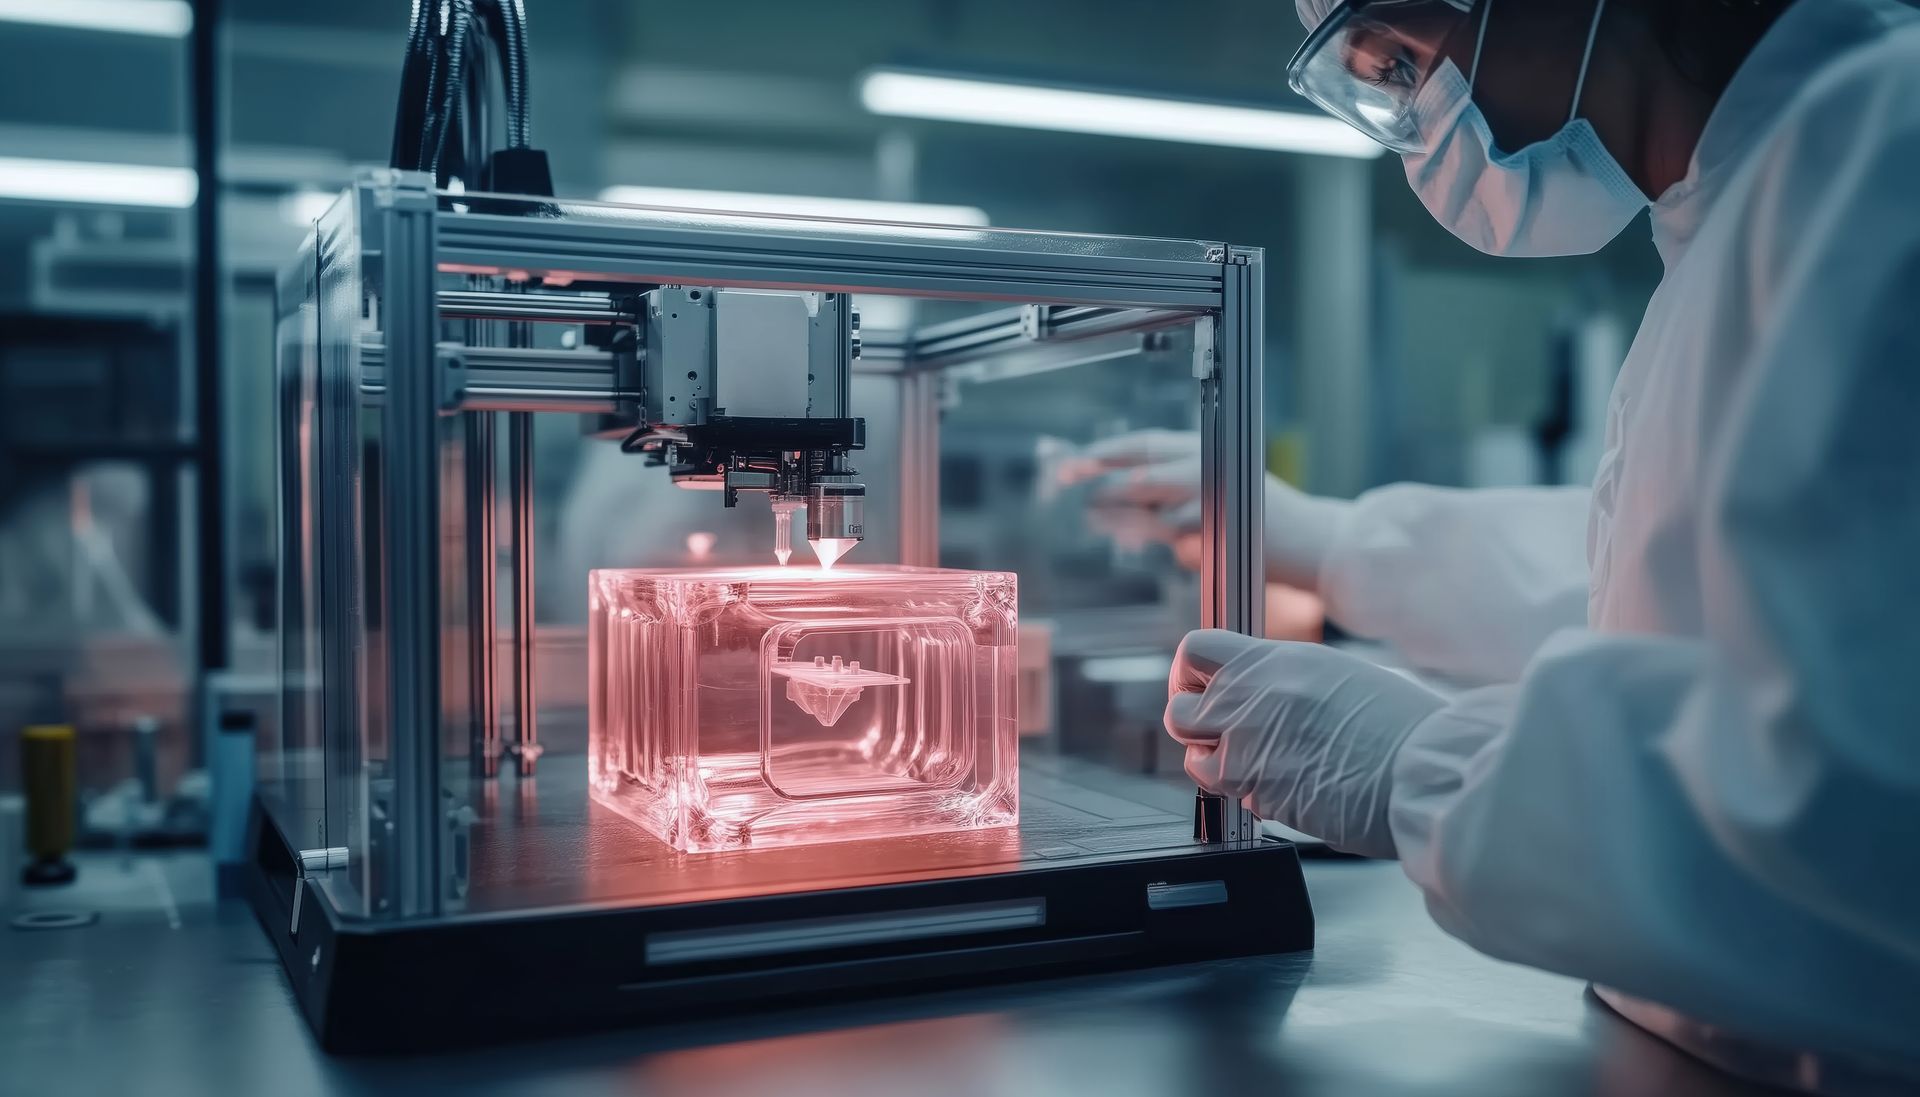
In the bustling tech and maker community of Phoenix, Arizona, 3D printing has become a game-changer for both hobbyists and professionals alike. Whether you're designing prototypes for a startup or creating art pieces, mastering the art of 3D printing Phoenix AZ requires attention to detail, patience, and—most importantly—proper calibration. Calibration ensures that your 3D printer performs at its peak, delivering precision, accuracy, and reliable results every time you hit "print."
If you're looking for expert advice on how to calibrate your 3D printer, you're in the right place. By3Design will walk you through the key aspects of calibration, offering valuable tips and tricks to help you optimize your 3D printing setup. Whether you are an enthusiast or a business owner leveraging 3D printing in Phoenix, AZ, here’s how to make sure your printer is performing at its best.
Why Calibration Is Critical For 3D Printing Success
Before diving into the step-by-step process of calibrating your 3D printer, it’s essential to understand why calibration matters. A poorly calibrated printer can lead to several issues, including:
- Inaccurate dimensions: Your final prints may be too large, too small, or distorted, which can be frustrating when precision is crucial.
- Poor layer adhesion: Without proper calibration, your layers may not bond correctly, leading to weak or failed prints.
- Warping and layer shifting: Calibration issues can cause parts of your print to shift or warp, ruining hours of work.
- Excessive stringing or under-extrusion: Calibration problems can also cause imperfections like stringing, blobs, and gaps between layers.
In a vibrant city like Phoenix, where 3D printing is becoming an integral part of many industries, from aerospace to architecture, precise results are non-negotiable. With proper calibration, you can ensure that your 3D prints come out perfect every time, saving time, material, and effort. See more on 3D Printing Services: Tailoring Products for Diverse Market.
Tools You’ll Need For Calibration
Before starting the calibration process, gather a few basic tools. You don't need anything too fancy, but these items will come in handy:
- Digital calipers for measuring
- A feeler gauge or a sheet of paper
- A ruler or tape measure
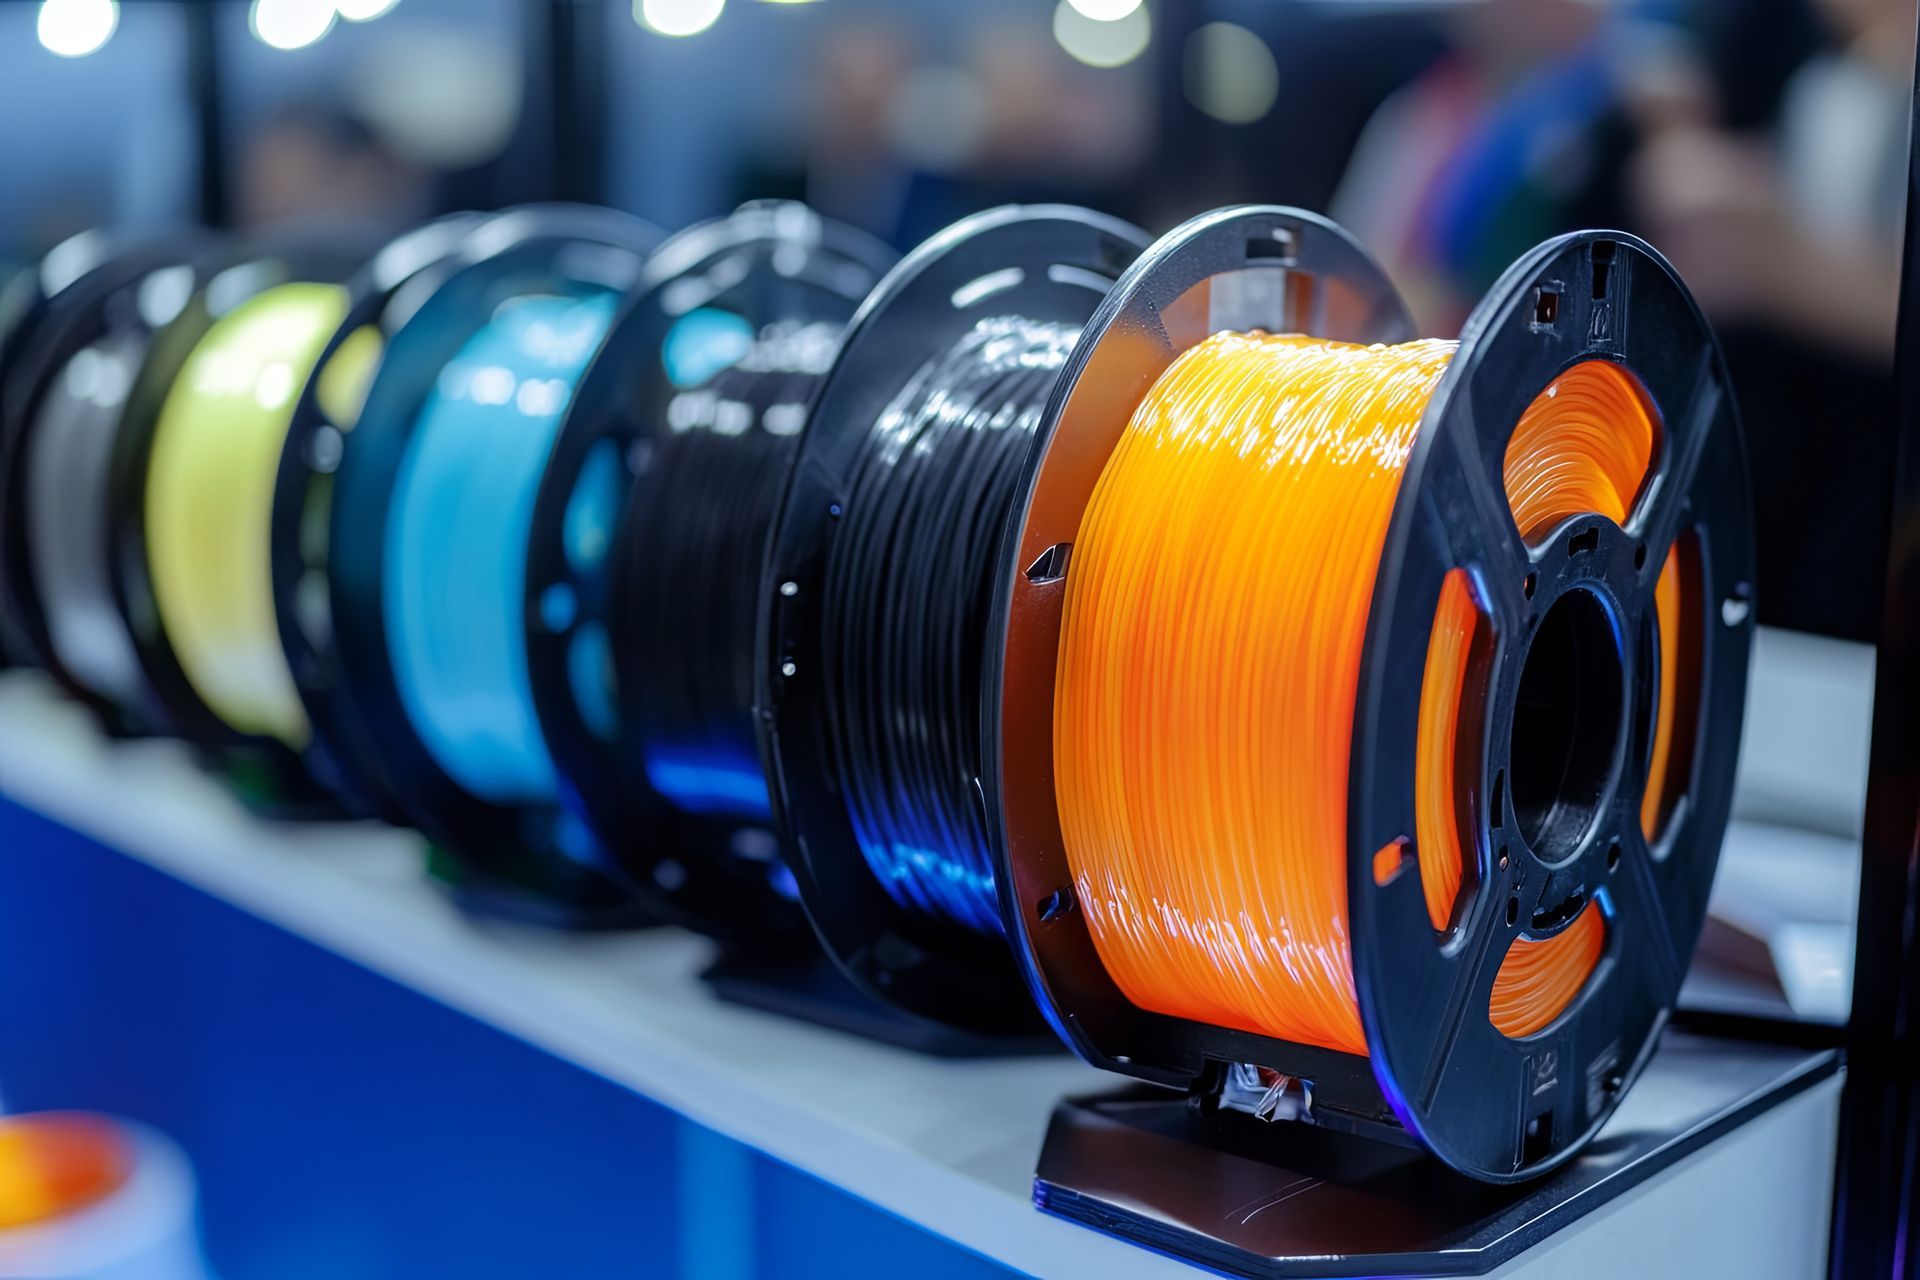
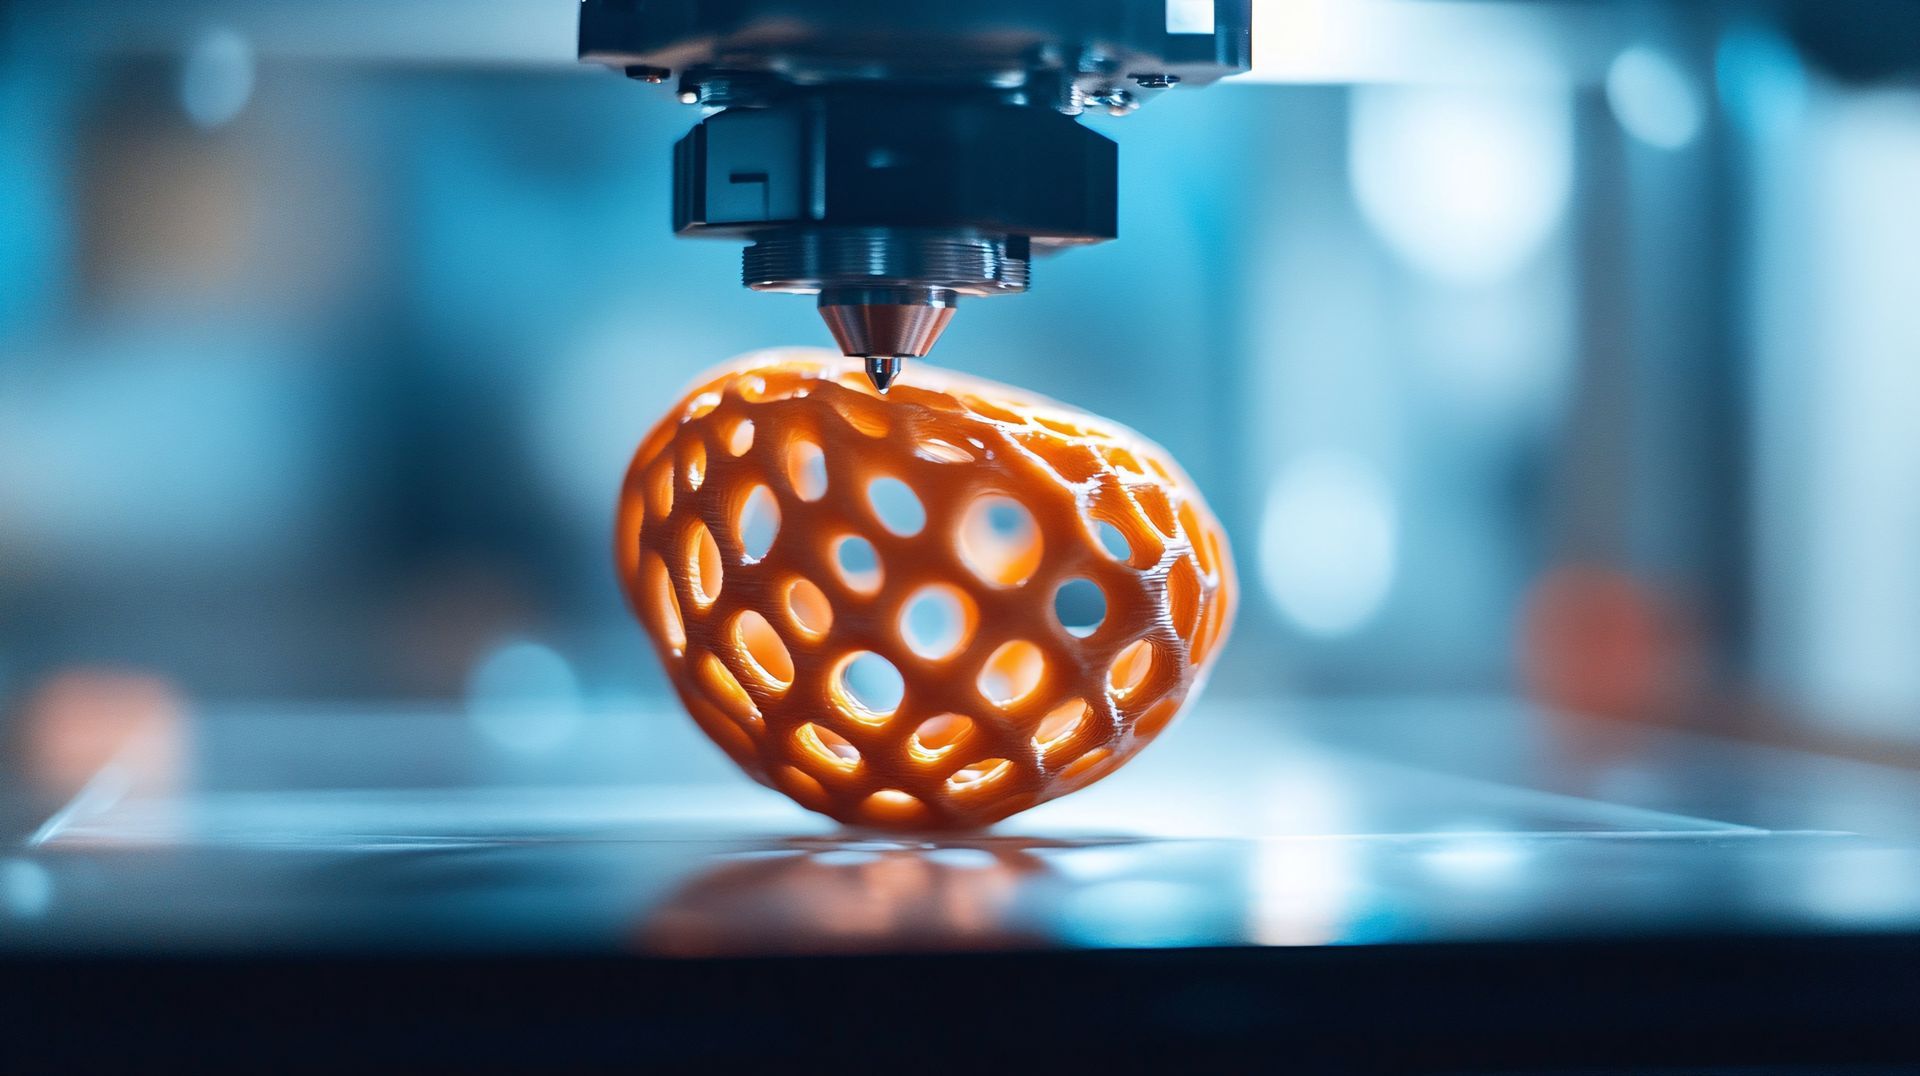
- A 3D calibration model (like a calibration cube or a Benchy)
- Bed leveling tools, if needed
With these tools, you’ll be ready to tackle each aspect of your printer’s calibration.
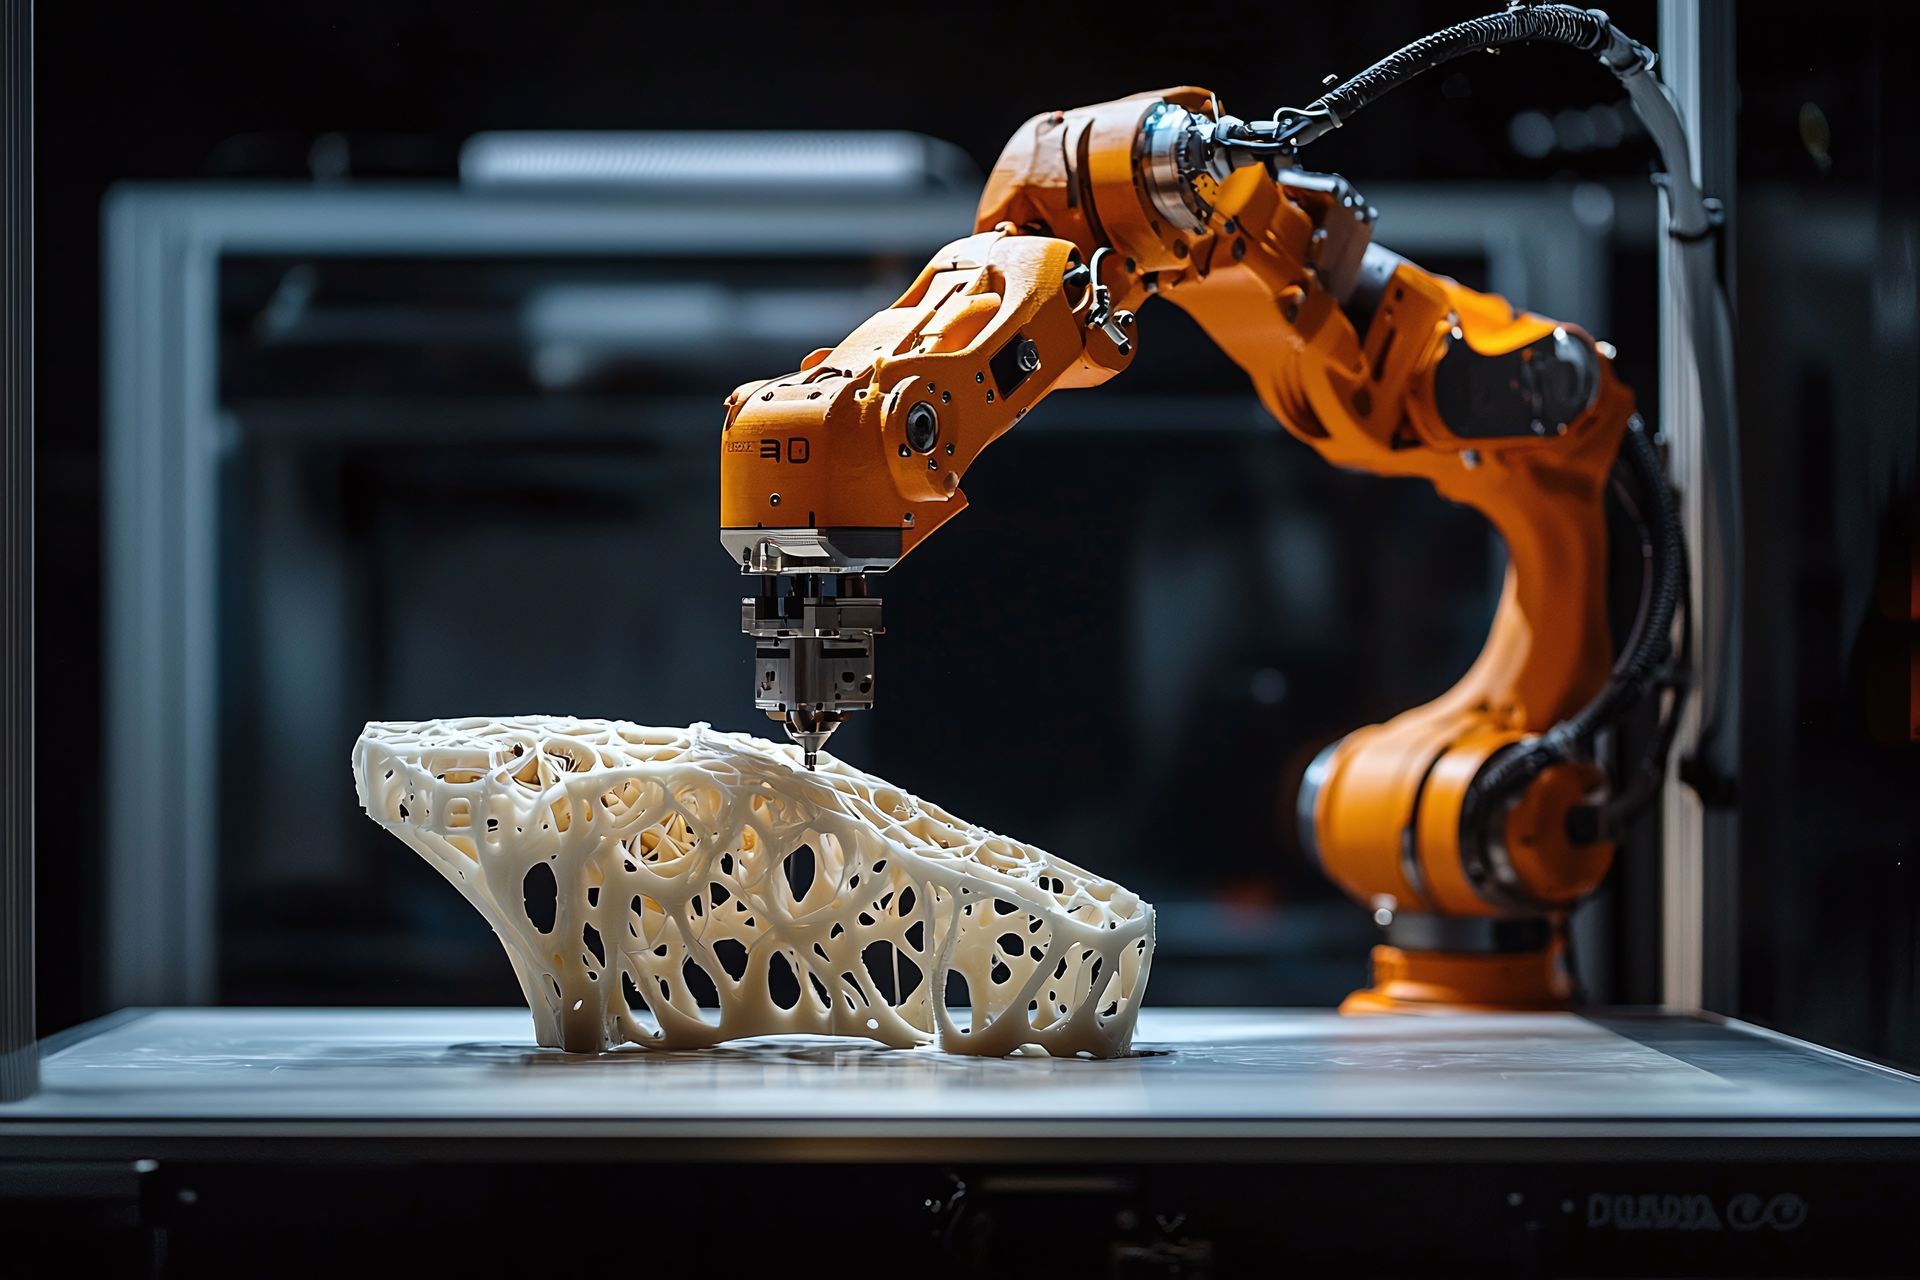
Step-by-Step Guide To Calibrating Your 3D Printer
1. Bed Leveling
Bed leveling is one of the most crucial aspects of 3D printer calibration. An unlevel bed will cause issues with the first layer, which is the foundation of your entire print.
How To Level The Bed
- Start by heating up the print bed and nozzle to the typical printing temperature. This ensures that thermal expansion is accounted for during calibration.
- Use the paper or feeler gauge method. Place a piece of paper between the nozzle and the bed. Move the nozzle to each corner and the center of the bed, adjusting the bed screws so that there’s a slight resistance when you move the paper.
- Some 3D printers have automatic bed leveling, but even if yours does, manually checking and adjusting the bed can still improve print quality.
Pro Tip for Phoenix Residents: The dry heat in Phoenix can cause materials to expand differently than in more humid environments. Regularly check your bed leveling, especially after significant weather changes or long periods of printer downtime.
2. Extruder Calibration
Extruder calibration, also known as "E-steps calibration," ensures that your printer extrudes the correct amount of filament. Incorrect extrusion can lead to issues such as under-extrusion (gaps in the print) or over-extrusion (blobs and stringing).
Steps For Extruder Calibration
- Mark 120 mm of filament with a marker.
- Heat the nozzle to your standard printing temperature.
- In your printer's settings, command it to extrude 100 mm of filament.
- Measure the actual filament extruded. If it’s not exactly 100 mm, adjust the E-steps setting in your printer’s firmware.
This simple yet effective calibration ensures your printer is extruding the exact amount of filament it needs for each layer.
3, Flow Rate Calibration
Flow rate calibration fine-tunes the amount of filament being extruded. Once your E-steps are set correctly, the flow rate should also be adjusted for optimal performance.
How To Adjust Flow Rate
- Print a single-wall test cube. Measure the thickness of the walls with calipers.
- Compare this to the intended wall thickness. If the measured wall thickness is off, adjust the flow rate percentage in your slicer software.
For example, if your wall should be 0.4 mm and it’s printing at 0.42 mm, reduce the flow rate slightly. On the other hand, if the wall is under the desired thickness, increase the flow rate.
4. Temperature Calibration
Every filament has an optimal temperature range, and finding the sweet spot can improve adhesion and print quality while minimizing stringing and other issues.
Calibrating Temperature
- Print a temperature tower (a 3D model with sections printed at different temperatures).
- Check each section for surface quality, layer adhesion, and stringing.
- Select the temperature range that gives the best results for your filament.
Phoenix-Specific Tip: The ambient temperature in your workspace can affect print results. During Phoenix’s scorching summer months, you might notice your filament softening too soon, so a cooler printing environment or adjusted settings may be necessary.
5. XYZ Steps Calibration
XYZ calibration ensures your prints come out with accurate dimensions. For this, you’ll use a 3D calibration cube or any geometric object with defined dimensions.
Steps For XYZ Calibration
- Print a calibration cube.
- Measure the X, Y, and Z dimensions of the cube with your calipers.
- Compare the measurements to the intended size (usually 20x20x20 mm).
- If there’s a discrepancy, adjust the XYZ steps in your printer’s firmware to correct the dimensions.
Proper XYZ calibration is crucial, especially if you’re printing functional parts or components where accuracy is essential.
6. First Layer Calibration
The first layer is arguably the most important part of any 3D print. If it doesn't adhere well, the rest of the print could fail. You can fine-tune your first layer by adjusting a few settings.
How To Calibrate The First Layer
- Check the Z-offset. This determines how close the nozzle is to the print bed during the first layer. A Z-offset that’s too high will cause poor adhesion, while one that’s too low can squish the filament.
- Set the correct speed for your first layer. A slower speed ensures better adhesion and accuracy.
- Adjust the initial layer height in your slicer software. A thicker first layer can improve adhesion.
After making these adjustments, print a first layer test to confirm the changes have improved your setup.
7. Belt Tension Calibration
Belt tension affects the smoothness and accuracy of your prints. If your belts are too loose, you may see issues like layer shifting or wobbling. If they’re too tight, it can cause wear on your machine.
How To Adjust Belt Tension
- Move the print head manually to feel for any resistance or slippage.
- Adjust the tension by turning the tensioning screws. There should be some resistance, but the belts should not be overly tight.
- Test by printing a geometric object and checking for consistent layers and smooth surfaces.
Conclusion
Calibrating your 3D printer is not a one-time task. Regular calibration and maintenance ensure that your printer stays in top condition, producing high-quality prints time after time. Given Phoenix's climate—known for its heat and dry air—it’s especially important to maintain your printer regularly to avoid issues with material storage and environmental factors.
If you're looking to get the most out of your 3D printer in Phoenix, AZ, calibrating these essential areas will take you one step closer to achieving perfect prints. Whether you’re printing prototypes for a new tech product or creating artistic pieces, a well-calibrated machine is key to success in the ever-growing world of 3D printing.
Contact By3Design for expert help today!

Navigation Links:
Contact Us:
Follow Us!
Powered by Rae of Light SEO